Introduction
Different types of content should be organized, whether that be by taxonomies, custom post types, or both. Older websites tend to use the standard “Post” post type for all their content types and differentiate between them using categories — This is not an effective strategy in terms of ease-of-use, semantics, or scalability. Assuming a custom post type is created, this tutorial will go over how to export those “Posts” into a custom post type in three steps, which will be explained in detail next:
- Export Posts;
- Search/Replace the Post Type;
- Import Posts.
Step 1. Export Posts
If the Export tool is not installed, install it from the Admin Dashboard > Tools > Available Tools section. Once installed, navigate to the Export tool interface from Admin Dashboard > Tools > Export.
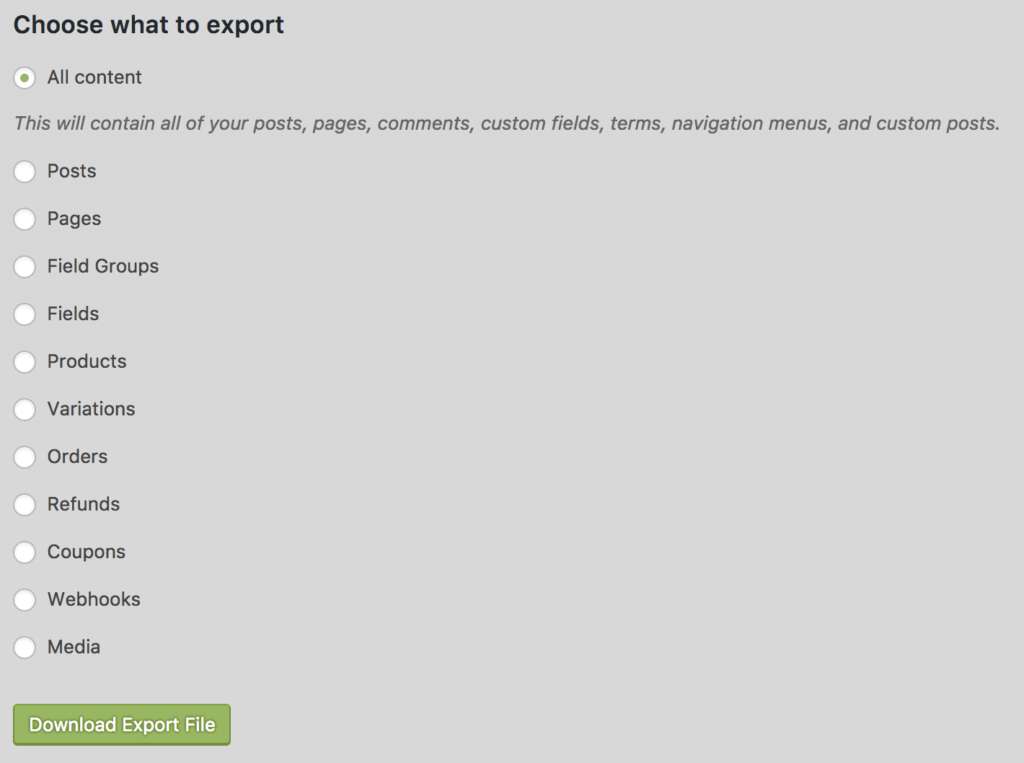
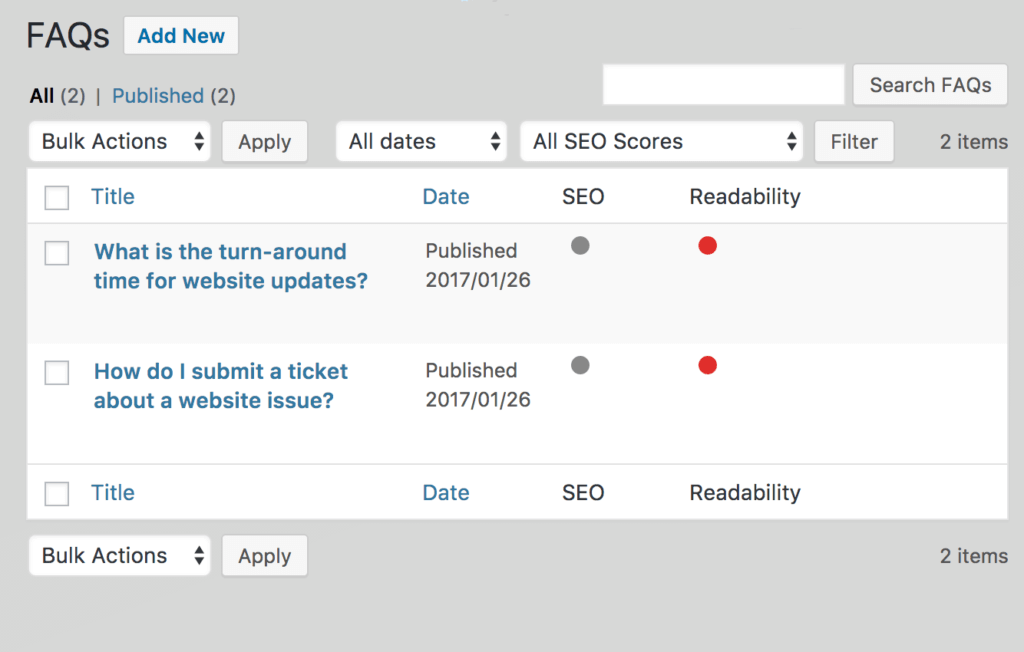
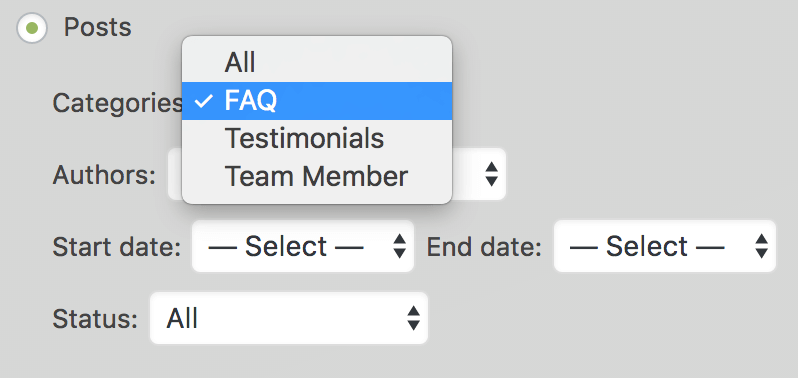
Select “Posts” and then additional fields will appear. One of those fields is a drop-down menu labeled “Categories”. In this tutorial, we will be using the post category “FAQ”.
Once the category is selected, click the “Download Export File” button. An XML file will be downloaded containing all posts (of the “Post” post type) matching the selected category.
Step 2: Search/Replace the Post Type
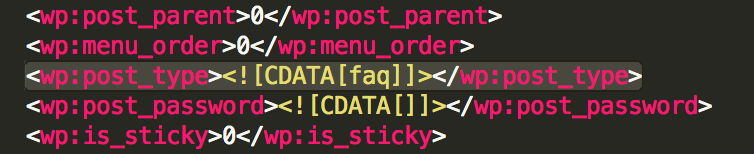
Open the .xml export file in an editor. At WEBDOGS, we typically use Sublime Text to edit files. The post type is set in each post in between tags. Use the search tool to find and “select all” occurrences of this line of code:
<wp:post_type><![CDATA[post]]></wp:post_type>In the code above, replace “post” with the slug of the custom post type and save changes. In this tutorial, “faq” is the slug of the new custom post type.
Step 3: Import Posts
If the Export tool is not installed, navigate to the Admin Dashboard > Tools > Import section and click “Install now” under “WordPress”. Once installed, click “Run Importer”.
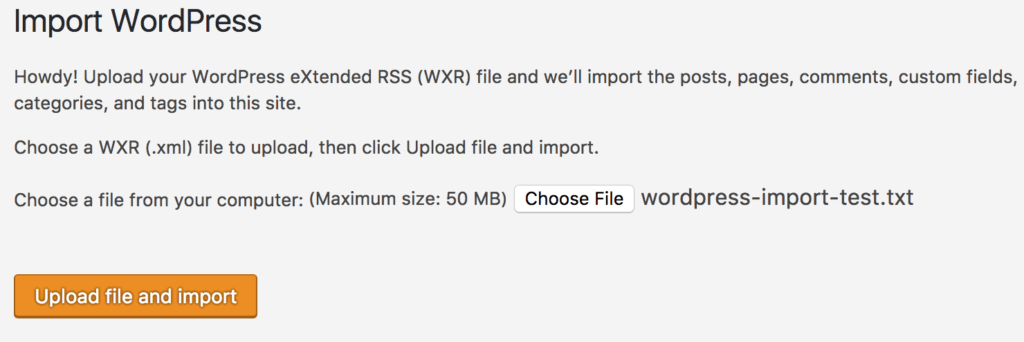
Choose the .xml file containing your posts and click “Upload file and import”. If all goes well, the posts imported will exist in the new post type.